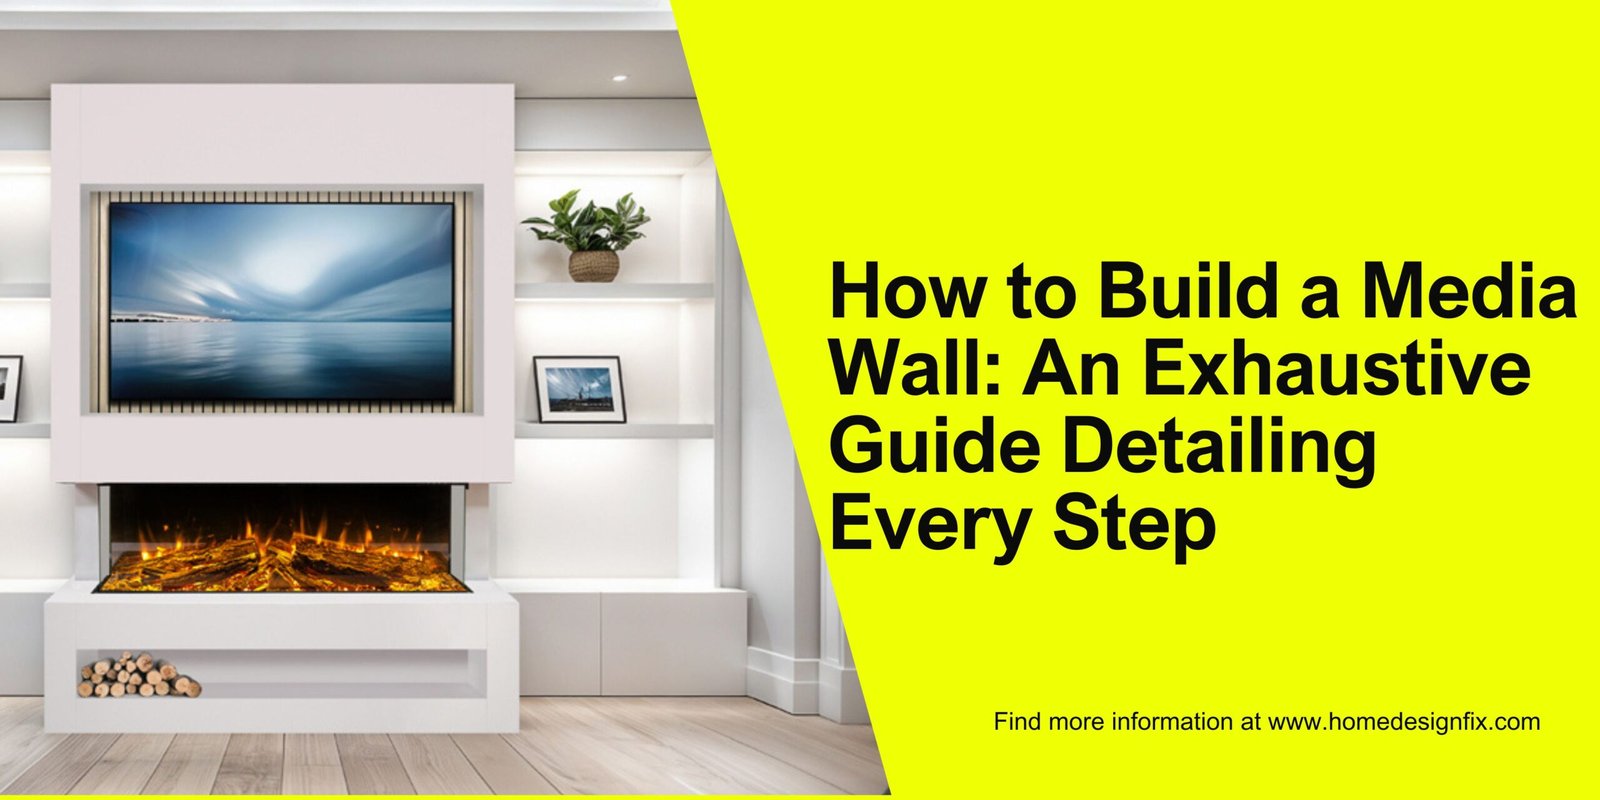
What is a Media Wall?
A media wall is a custom-built feature wall that houses a flat-screen TV and often includes additional features like electric fireplaces, shelving, LED lighting, and built-in speakers. It offers a sleek, organized focal point for your living space.
Benefits of Having a Media Wall
- Enhances aesthetic appeal
- Saves space with built-in storage
- Conceals cables and wires
- Adds value to your home
Is It a DIY-Friendly Project?
Yes, with proper planning and the right tools, building a media wall can be a manageable DIY project. However, tasks like electrical installation may require professional assistance.
Planning Your Media Wall
Step 1: Design and Preparation
Assessing Your Space and Wall Type
Begin by examining the wall where you want the media wall installed. Ensure it’s large enough to accommodate your desired setup. Determine if the wall is load-bearing or a stud partition, as this affects how you secure framing and fixtures.
Choosing the Right Wall
Select a wall that provides the best viewing angles and does not obstruct pathways. Consider natural lighting and glare from windows.
Defining the Purpose
Decide whether your media wall will be purely for entertainment or also for storage and decoration. Popular features include TV mounts, soundbars, bookshelves, LED strips, and fireplaces.
Gathering Inspiration and Creating a Design Plan
Use design platforms like Pinterest or design software to visualize your wall. Sketch or digitally design the layout, noting measurements and features.
Taking Accurate Measurements
Measure the width, height, and depth available. Also measure the TV dimensions and other elements like fireplaces or shelving units.
Step 2: Selecting Materials and Tools
List of Essential Tools
- Drill and screws
- Saw (circular or jigsaw)
- Spirit level
- Measuring tape
- Stud finder
- Screwdriver
- Sander
Choosing the Right Materials
- Timber (for framing)
- MDF or plasterboard (for sheeting)
- Brackets and mounts (for TV and shelves)
- Paint, primer, or wallpaper
Optional Add-ons
- Electric fireplace insert
- LED strip lights and transformers
- Glass shelves
Safety Equipment
- Safety glasses
- Gloves
- Dust mask
- Ear protection
Building the Media Wall Framework
Step 3: Marking and Framing
Marking Out the Wall Layout
Use a pencil and level to draw the outline of the media wall structure. Mark where studs, compartments, and mounts will go.
Installing the Timber Frame
Build a timber skeleton to support the sheeting and fixtures. Ensure vertical studs are evenly spaced and securely fixed to floor, wall, and ceiling. Add horizontal noggins for reinforcement.
Creating Compartments
Designate areas for the TV, shelves, or fireplace. Build boxes or cutouts into the frame accordingly.
Checking for Level and Alignment
Double-check with a level before fixing panels to ensure everything is straight and square.
Step 4: Installing Electricals and Cables
Planning for Power and Media Ports
Decide where power outlets, HDMI ports, and ethernet connections should go. Plan routes for speaker wires and other media components.
Routing Cables
Drill holes and run cables through the frame. Use cable management clips to keep things tidy.
Installing Back Boxes
Fit back boxes for electrical sockets and light switches. Ensure compliance with building regulations.
Safety Tips
If unsure about handling electricals, consult or hire a certified electrician.
Adding Structure and Finishing Touches
Step 5: Sheeting and Surface Preparation
Attaching MDF or Plasterboard Panels
Secure panels to the timber frame using screws. Ensure tight joints and secure fitting.
Creating a Seamless Surface
Use filler on gaps and screw holes. Once dry, sand smooth for a flush finish.
Step 6: Painting and Decorating
Applying Primer and Paint
Apply a base coat of primer. Once dry, paint the surface in your chosen color or apply wallpaper.
Choosing a Color Scheme
Match the media wall color with your room’s decor. Dark tones can enhance the cinematic experience.
Optional Wallpaper or Textures
Add textured wallpaper or decorative panels for visual interest.
Step 7: Installing the TV and Components
Mounting the TV
Use a sturdy wall mount appropriate for your TV size. Follow manufacturer instructions carefully.
Adding Shelves and Decor
Install shelves, place books, decor, or soundbars. Ensure symmetrical and balanced layout.
Cable Management Tips
Use trunking or cable covers to keep wires out of sight.
Final Steps and Maintenance
Step 8: Final Checks and Safety
Inspecting for Stability
Check the entire structure for wobble or weak spots. Reinforce if needed.
Testing Electrical Components
Turn on all devices and test outlets, lights, and ports.
Fire Safety Considerations
Ensure the electric fireplace (if included) is properly installed with clearance from flammable materials.
Step 9: Maintenance and Upgrades
Keeping it Clean
Dust regularly and wipe surfaces with a dry or damp cloth.
Upgrading Over Time
Leave room for future upgrades like smart lighting, consoles, or newer TV models.
Conclusion
Building a media wall is a rewarding project that transforms your living space into a modern entertainment hub. With careful planning, the right tools, and a bit of creativity, you can craft a functional and stylish centerpiece that suits your lifestyle.
Read More Detailed About: Home Design Fix
How to Clean Grout on Tile Floors

